
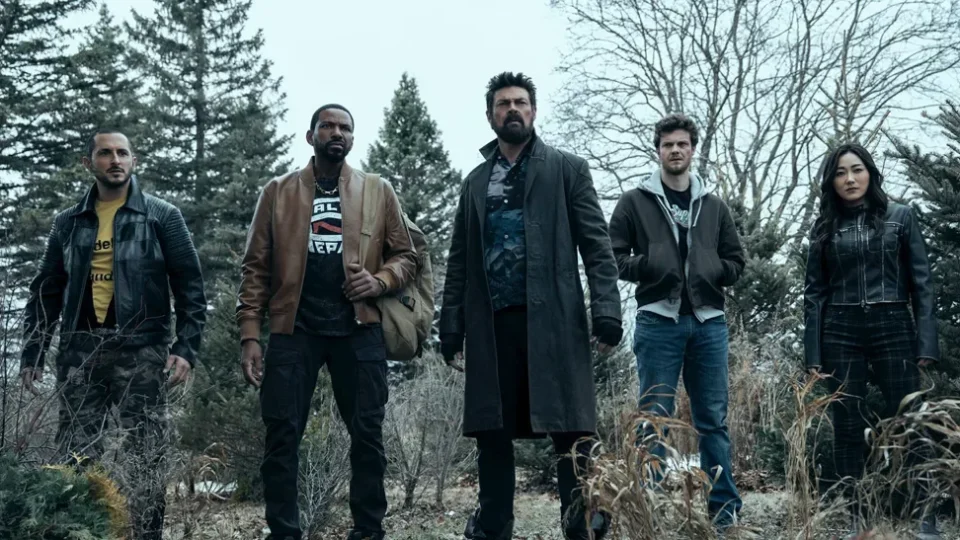
Colourist Siggy Ferstl, of Company 3, graded the fifth and final season of “The Boys” leaning on the DaVinci Resolve Studio Depth Map, the Blackmagic Design tool that analyses the frame and works out how far each object in the scene sits from the camera. The detail that matters is not that the series was graded in Resolve, but that Ferstl has stopped treating the tool as an occasional secondary correction and has built it into his default node tree.

That change of method alters how the colour is worked: background and foreground stop being two zones of a flat image and start being handled as independent layers from the moment the session opens. Ferstl, based in Los Angeles, has led colour on the series since season one and has also graded “Wednesday”, “Narcos”, “Lost in Space” and “Gen V”, set in the same universe.
The DaVinci Resolve Studio Depth Map is no longer a secondary correction
The Depth Map analyses the whole image automatically and determines how far each element of the frame sits from the camera. The result is a separation by depth — what post-production calls Z-depth — that the colourist can use as a matte to apply different adjustments to foreground, mid-ground and background without drawing a single shape.


Set against the usual isolation methods, the difference is time and scale. Vignettes, Power Windows, shapes and composites all separate objects, but they demand tracking, clean-up and, on complex shots, support from comp. And every one of them works on a two-dimensional image: they separate objects within the frame, not according to their position in space.
Because the analysis is fast next to traditional visual effects methods, it can be applied to whole scenes inside the grading workflow rather than reserved as a one-off task for a problem shot. That efficiency is what led Ferstl to fix it in his default node tree and to approach colour in more three-dimensional terms, with separate criteria for background and foreground.



An abandoned hospital and colour assigned by distance
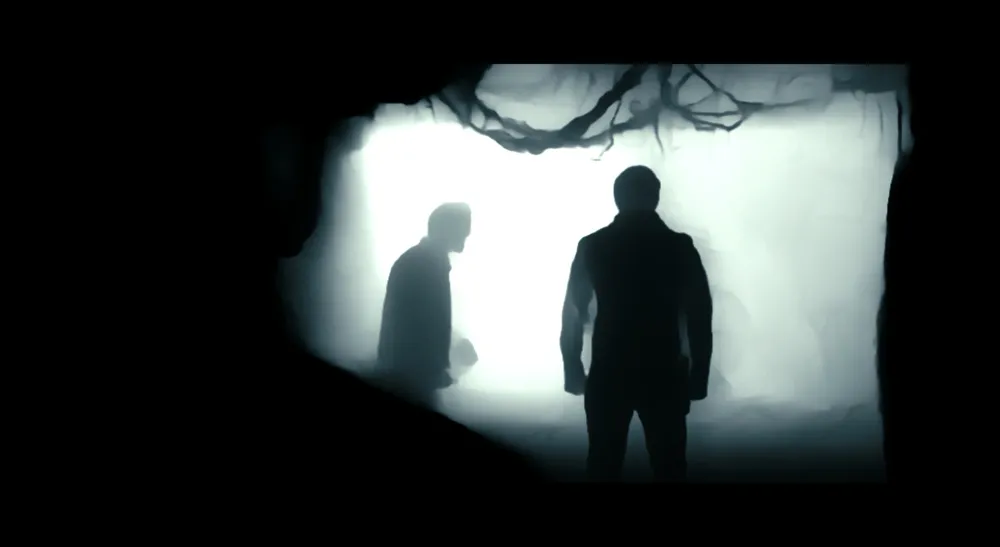
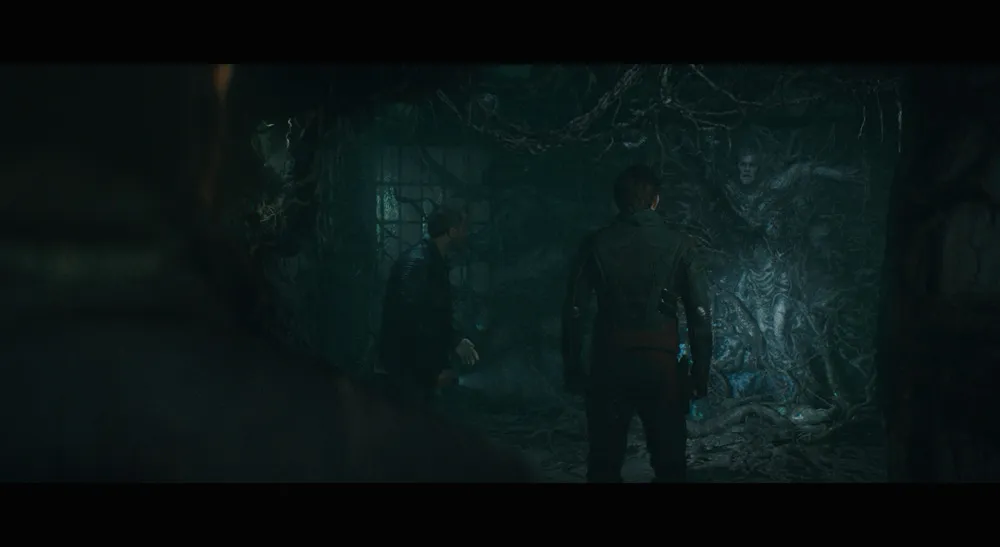
The example Blackmagic Design gives from this season is a sequence shot in an abandoned hospital that had to carry fear and unease. The filmmakers felt the location had come out slightly too dark, and that is where a classic grading problem appears: lifting the light globally usually translates into an image with less contrast.
Depth separation let Ferstl light the background only and hold deep, dense shadows in the foreground. On that base he added volumetric fog and a faint halation to build a light smoke effect in the scene.
He then applied what he calls colour as a function of depth: the traditional split between warm highlights and cool shadows, but distributed by distance. He gave the background a cool green cast and kept the skin tones of the characters in the foreground warm and natural. Combining that colour split across Z-depth layers with volumetric light scattering stopped the scene going too dark and reinforced the look captured on the shoot.
Less background glare in an HDR grade
The tool also proved effective for pulling down brightness on shots where the lighting conditions produced glare in the background, a situation that tends to get harder in high dynamic range. By acting only on the layers furthest from camera, the foreground characters gain presence and are clearly established as the focal point of the shot.
That is a control with direct consequences for how the image reads in HDR: when the available range is wider, a bright background competes with the subject far more easily than it does in an SDR delivery. It is the same reasoning that governs capture and monitoring decisions further upstream in audiovisual production, where the signal chain has to preserve the latitude the grade will later depend on — including the I/O hardware, as the Blackmagic UltraStudio Mini 12G range illustrates on the capture and playback side.
When grading absorbs compositing and visual effects work
The case illustrates a convergence that colour suites have been feeling for a while: part of what once had to go through compositing or the visual effects department can now be resolved inside the grading workflow. This is not about replacing a VFX team, but about certain operations — separating depth planes, adding atmosphere, integrating diffusion — now fitting inside the colour session.
“With the tools that are available now, I can do much more than grade. Sometimes they really are post-production effects that cover both traditional colour adjustments and visual effects,” Ferstl explains.
Alongside the Depth Map, this season leaned on Magic Mask, which isolates parts of the frame by colour in a fraction of the time earlier methods required, and on mist, halation and smoke effects that the colourist combines with various OFX plug-ins to build the finished look. On shots with complex visual effects, Ferstl sometimes brings in the Depth Map as a placeholder and adjusts it when the final version of the shot arrives; because it already sits in his node tree, adding it later does not force anything to be redone.
That direction of travel is not confined to the colour suite. Compositing packages are moving the same way, as the arrival of animated Gaussian Splats and volume-based relighting in Nuke 17.1 shows: three-dimensional information is becoming something you manipulate late in the pipeline rather than only at the point of capture.
More headroom for independent productions
Ferstl places the value of the tool outside big-budget work as well. On an independent shoot there may be no time to light the background properly: the crew concentrates on the actors and the foreground and, however much it might want to treat distance differently, the resources are not always there. Separating by depth in post widens that margin afterwards.
“It could be even more useful for independent films,” the colourist notes.
The caveat that comes with that reading matters just as much for any professional considering heavy use of it. “Every tool has a limit that, if you exceed it, makes it break. The Depth Map is no exception,” Ferstl points out, insisting that depth separation solves the isolation but not the artistic decision: without visual judgement and experience behind it, the result drifts easily towards a strange or artificial image.
Almost a decade grading the same series
Across the eight or nine years of the show’s life, Ferstl describes a double movement: DaVinci Resolve has extended what it can do and, at the same time, more showrunners, cinematographers and effects supervisors arrive at colour sessions knowing what can be achieved beyond traditional correction. When that knowledge is present from prep onwards, it changes how the shoot itself is approached.
The division of work per episode reflects it: Ferstl does a first pass on his own, reviews afterwards with the cinematographer and only later brings in the showrunner, executive producers, director and visual effects team. With depth separation already integrated into the node tree, that route describes where the colourist’s craft is heading: less a final colour-adjustment stage and more a stretch of post-production where depth, atmosphere and effects are decided in the same room. All five seasons of “The Boys” stream exclusively on Prime Video.
What is the Depth Map in DaVinci Resolve Studio?
The DaVinci Resolve Studio Depth Map analyses a frame and calculates the distance from camera to each object in the scene, producing a Z-depth separation the colourist can use as a matte. It allows different adjustments for foreground, mid-ground and background without tracking or drawing shapes.
Why build the Depth Map into a default node tree?
Because the analysis is fast enough to run across whole scenes rather than on isolated problem shots. Keeping it in the default node tree means background and foreground are treated as separate layers from the start of the session, and a Depth Map placed as a placeholder on an unfinished VFX shot can be refined later without rebuilding the grade.
Depth separation moves grading closer to visual effects
The way the DaVinci Resolve Studio Depth Map was used on “The Boys” says less about a single feature than about where the colour suite is going. Lighting a background independently, distributing warm and cool by distance, holding back HDR glare and inserting atmosphere are operations that used to be shared with other departments. What Siggy Ferstl adds, and repeats, is that the tool resolves the isolation — never the decision about what the image should look like.